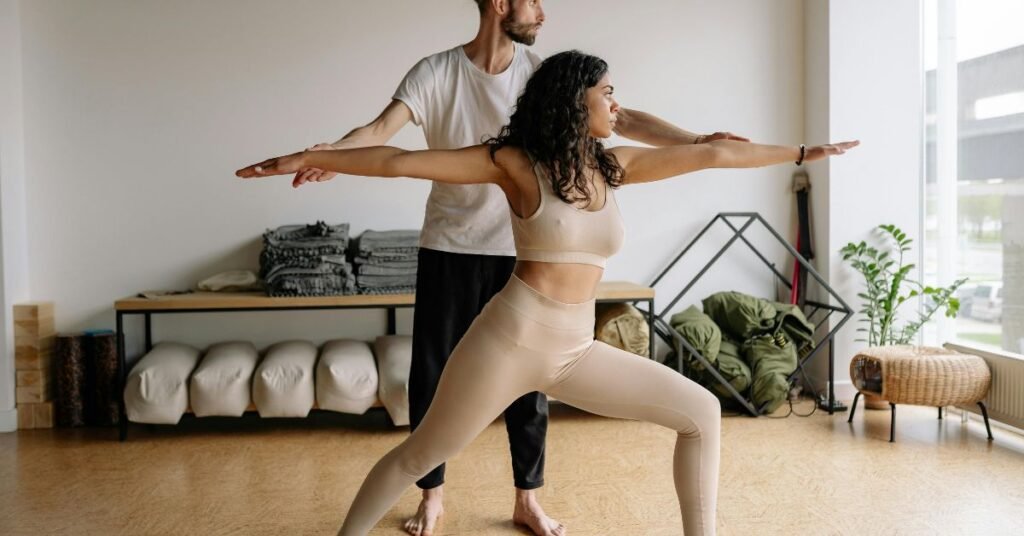
Introduction: So You’ve Rolled Out Your Mat—Now What?
Starting yoga can feel a little like walking into a party where everyone knows the dance moves except you. There’s someone in the corner balancing on their head, another doing something that looks like a human pretzel, and you’re just… standing there, hoping no one notices you almost fell over in mountain pose.
First of all: you’re doing great.
If you’re new to yoga, there’s no shame in not being able to twist, bend, or balance like an Instagram yogi. In fact, trying to force your body into poses it’s not ready for can do more harm than good. That’s why this guide is here—to help you avoid common beginner mistakes, dodge injuries, and actually enjoy your yoga journey (yes, really!).
We’re going to break down:
- Which poses beginners should skip (for now!)
- Why these poses can be risky when you’re starting out
- Friendly alternatives that will still build strength, flexibility, and confidence
- Tips for making your practice safe and sustainable
So, grab your mat, take a deep breath, and let’s dive in—no headstands required.
Why Some Poses Are Best Left for Later
Before we jump into the “don’t-do-these-yet” list, let’s talk about why certain yoga poses are better saved for later:
1. Your Body Needs Time
Your muscles, joints, and connective tissues need to adapt to new movement patterns. Pushing too hard too soon can cause strains, sprains, or just plain frustration.
2. Yoga Isn’t About Showing Off
Forget the fancy shapes. Real yoga is about connecting breath, body, and mind. Not touching your toes? That’s okay. Breathing deeply and staying aware? That’s yoga.
3. Alignment Matters
Many advanced poses require precise alignment. Without a strong foundation, you could end up hurting your wrists, knees, back, or shoulders.
So don’t worry if your practice looks simple right now. Simple is smart.
1. Headstand (Sirsasana)
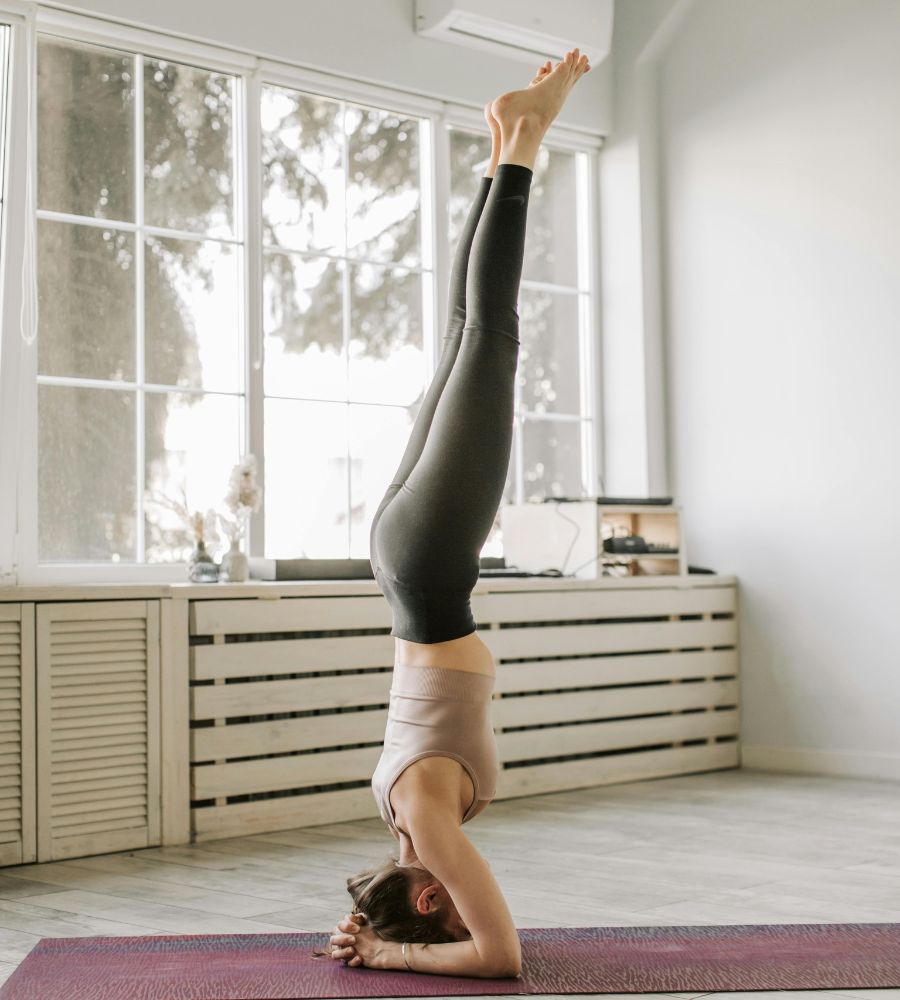
❌ Why to Avoid:
Headstands might look impressive, but they put a lot of pressure on your neck and spine. Without strong shoulder support and core control, beginners often end up dumping weight straight into their head—and that’s a one-way ticket to injury town.
✅ What to Do Instead:
Legs-Up-the-Wall (Viparita Karani)
- Lie on your back with your legs resting up a wall.
- Place a cushion or folded blanket under your hips if needed.
- Close your eyes and relax.
🧘 Benefits: Gives you the same calming, inverted feeling without the risk.
2. Full Wheel Pose (Urdhva Dhanurasana)
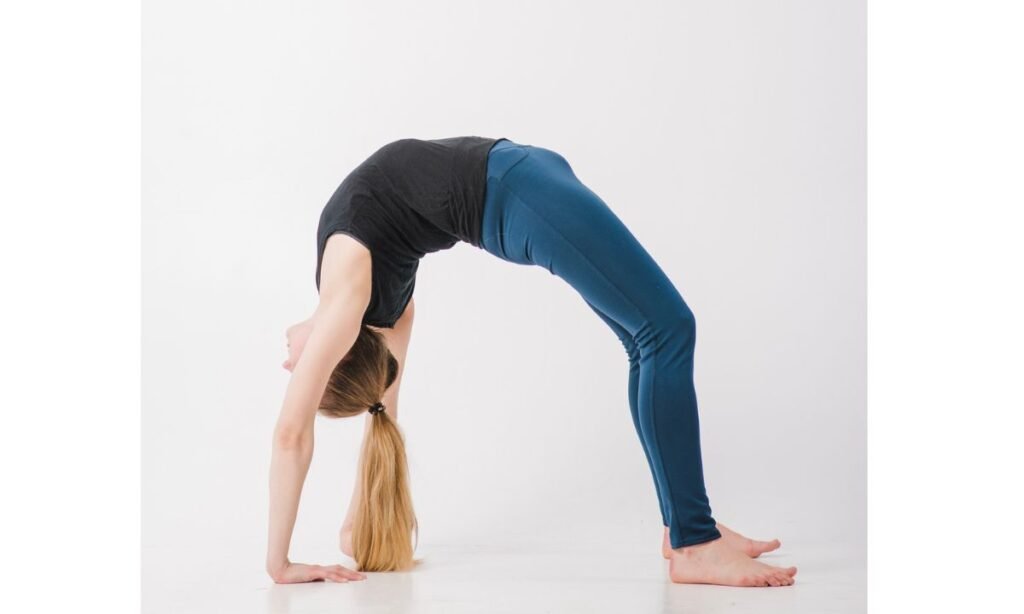
❌ Why to Avoid:
This intense backbend can compress the lower back if your spine and shoulders aren’t ready. It also demands strong glutes, open hip flexors, and flexible wrists.
✅ What to Do Instead:
Bridge Pose (Setu Bandhasana)
- Lie on your back, bend your knees, and keep your feet hip-width apart.
- Press into your feet and lift your hips.
- Keep your chin away from your chest.
🧘 Benefits: Strengthens your back, glutes, and legs with way less strain.
3. Crow Pose (Bakasana)
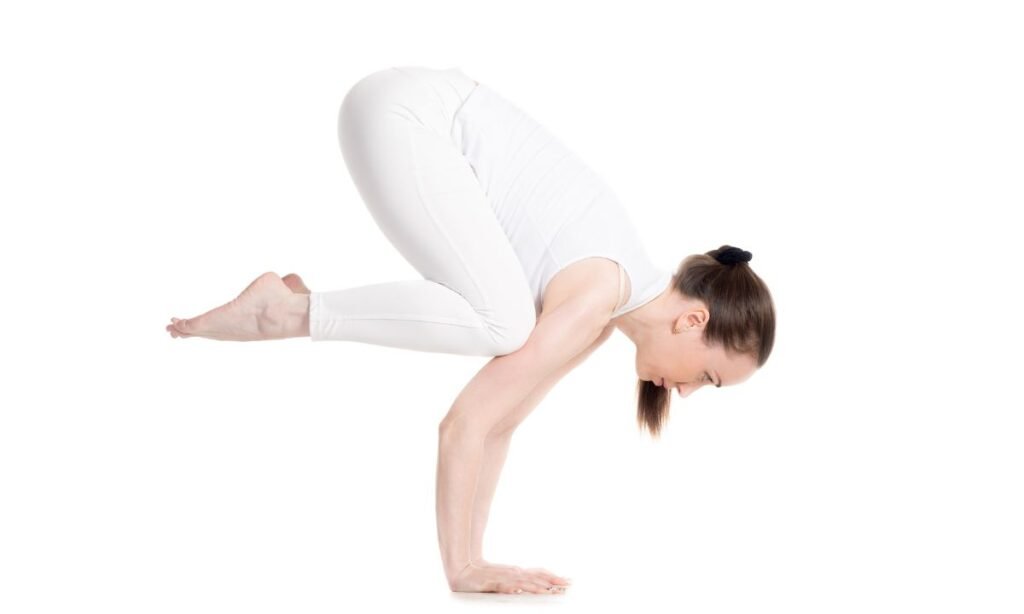
❌ Why to Avoid:
Balancing your knees on your arms and lifting your feet sounds fun—until you face-plant. This pose needs core strength and wrist stability that beginners usually haven’t built yet.
✅ What to Do Instead:
Garland Pose (Malasana)
- Squat down with your feet slightly turned out.
- Bring your hands together at your chest.
- Use a block under your heels if needed.
🧘 Benefits: Opens hips and builds lower-body strength—no face-planting involved.
4. Lotus Pose (Padmasana)
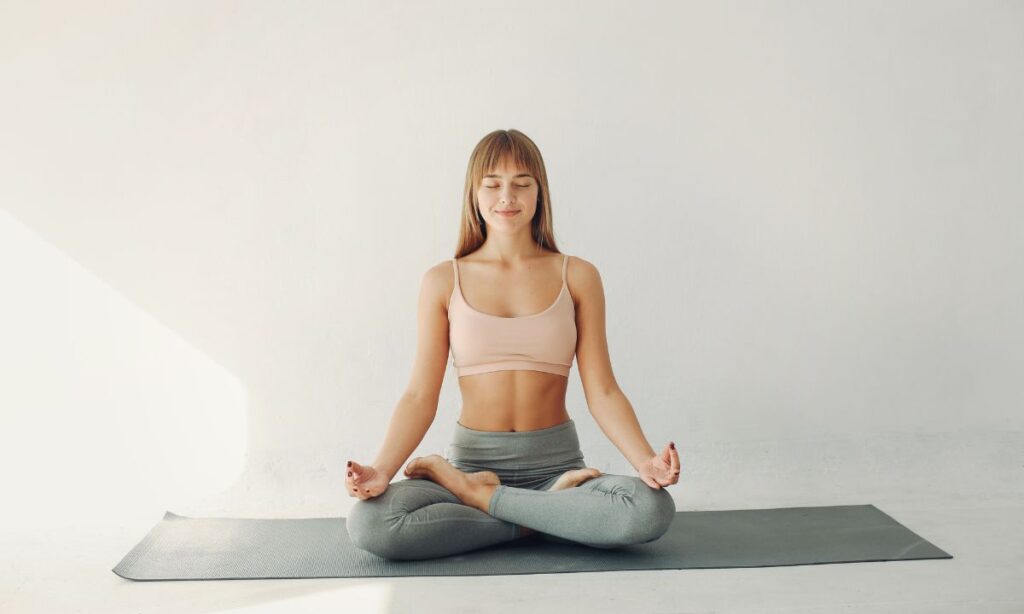
❌ Why to Avoid:
Lotus might look peaceful, but it’s a deep hip rotation. Forcing yourself into it can strain your knees, especially if you’re not naturally flexible.
✅ What to Do Instead:
Easy Pose (Sukhasana)
- Sit cross-legged with a cushion under your hips.
- Keep your spine tall and shoulders relaxed.
🧘 Benefits: You still get all the meditative vibes without risking your joints.
5. Shoulder Stand (Sarvangasana)

❌ Why to Avoid:
While it’s often called the “queen of yoga,” shoulder stand can compress your neck and upper spine. If you don’t have a teacher guiding your alignment, it can go wrong fast.
✅ What to Do Instead:
Supported Bridge Pose
- Place a yoga block under your sacrum and rest your hips on it.
- Let your arms relax by your sides.
🧘 Benefits: Gives gentle inversion benefits and opens your chest—no neck strain.
6. Plow Pose (Halasana)
❌ Why to Avoid:
Plow pose pushes your legs behind your head. Sounds dramatic? It is. Without proper support, it can compress your cervical spine and put strain on your back.
✅ What to Do Instead:
Knees-to-Chest Pose (Apanasana)
- Lie on your back and hug your knees toward your chest.
- Rock gently side to side.
🧘 Benefits: Massages your lower back and calms the nervous system—ahhh.
7. King Pigeon Pose (Eka Pada Rajakapotasana)

❌ Why to Avoid:
This deep backbend requires open hips, shoulders, and quads. For beginners, it can strain the knees and lower back if you’re not warmed up.
✅ What to Do Instead:
Reclined Pigeon Pose (Supta Kapotasana)
- Lie on your back and cross one ankle over the opposite thigh.
- Gently pull the bottom thigh toward your chest.
🧘 Benefits: Loosens tight hips with more control and less strain.
8. Revolved Triangle Pose (Parivrtta Trikonasana)
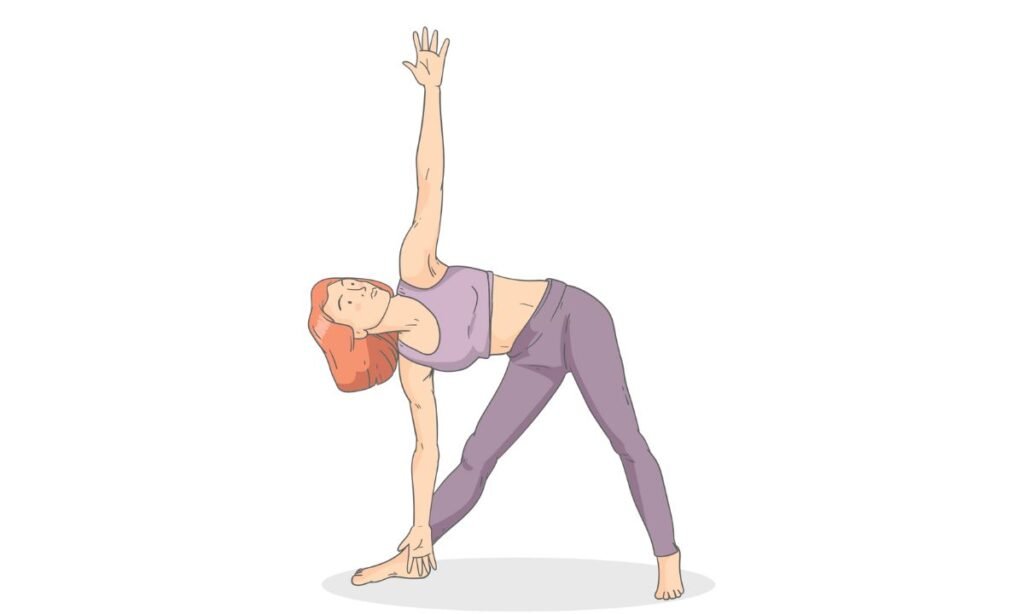
❌ Why to Avoid:
Twisting while trying to balance with straight legs is a recipe for wobbling, especially with tight hamstrings or a stiff spine.
✅ What to Do Instead:
Supine Twist (Supta Matsyendrasana)
- Lie on your back, bend your knees, and drop them to one side.
- Extend your arms and gaze the opposite way.
🧘 Benefits: Releases tension in your back without tipping over.
9. Firefly Pose (Tittibhasana)
❌ Why to Avoid:
Unless you’re secretly Spiderman, this pose is super advanced. It demands core strength, open hamstrings, and strong wrists.
✅ What to Do Instead:
Boat Pose (Navasana)
- Sit on your mat, lift your legs, and balance on your sit bones.
- Extend your arms forward and keep your chest lifted.
🧘 Benefits: Builds core strength in a safer, more approachable way.
10. Deep Forward Fold (Paschimottanasana with Force)
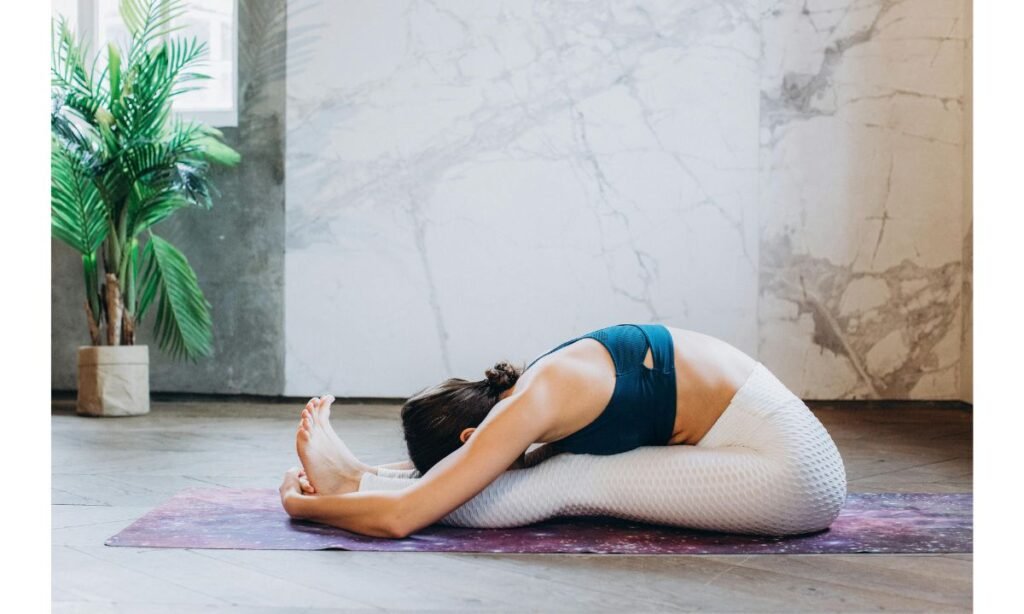
❌ Why to Avoid:
Trying to touch your toes or fold in half when your hamstrings are tight is a fast track to lower back strain. Don’t yank or bounce—your spine will thank you.
✅ What to Do Instead:
Seated Forward Fold with Bent Knees
- Sit tall, bend your knees, and drape your torso forward.
- Use a strap if your hands don’t reach your feet.
🧘 Benefits: Gets the stretch without pulling on your spine or hamstrings.
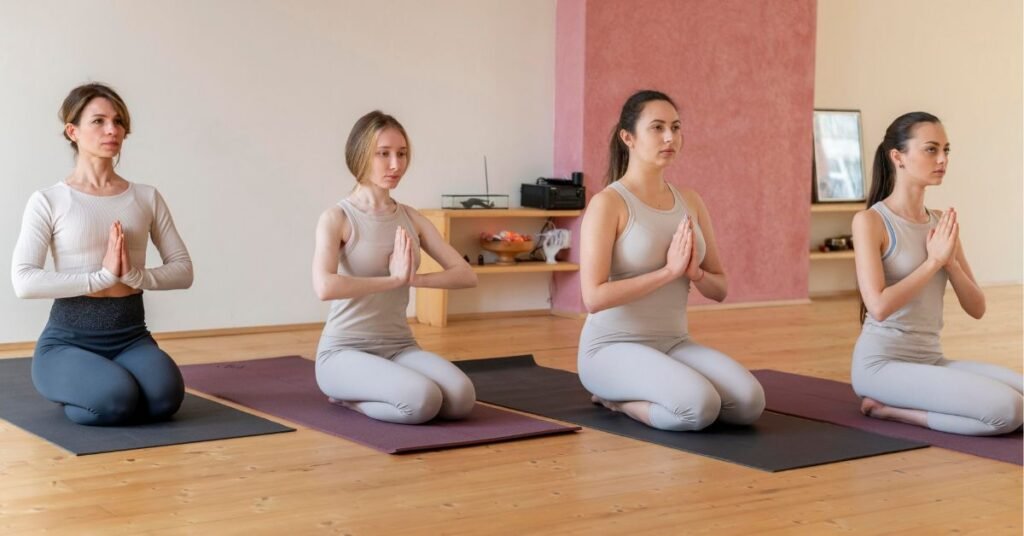
Beginner Yoga Tips: Start Smart, Stay Safe
Okay, now that you know what to skip (and what to try instead), here are a few bonus tips to make your beginner yoga experience smoother than a fresh jar of peanut butter:
🧘♂️ 1. Use Props (They’re Not “Cheating”)
Blocks, straps, cushions—these are your new best friends. They help support your body where it is right now, not where you wish it was.
👣 2. Focus on Your Breath
Yoga isn’t about twisting yourself into knots. It’s about connecting breath and movement. When in doubt: inhale, exhale, repeat.
🐢 3. Go Slow
Slow movements = more control and fewer injuries. Plus, you get to actually feel what’s going on in your body.
🧘♀️ 4. Child’s Pose Is Always an Option
Tired? Dizzy? Just need a moment? Drop into child’s pose. It’s not quitting—it’s listening.
🎧 5. Choose the Right Teacher
If you’re following online classes, pick one that’s beginner-friendly. Look for teachers who give modifications, clear instructions, and encouragement, not just fancy poses.
The Emotional Side: It’s Okay to Feel… Stuff
Let’s be real. Starting yoga can bring up a lot more than just sore muscles:
- You might feel awkward.
- You might feel impatient.
- You might even cry in pigeon pose (it’s a thing).
This is normal.
Yoga isn’t just a physical practice—it also stirs up mental and emotional layers. That’s part of the healing. So be gentle with yourself, and don’t judge the journey.
Final Thoughts: Progress Over Perfection
The biggest yoga myth? That you need to be bendy, strong, or Instagram-worthy to start.
The truth? You just need to start.
Skip the risky stuff. Embrace the safe, supportive poses. Listen to your body. Laugh when you fall over. Breathe through the wobbles.
One day, maybe you’ll try headstand. Or maybe you won’t. That’s not the point. The point is showing up for yourself with kindness, curiosity, and maybe a little giggle when your balance goes sideways.
So unroll that mat. Take a deep breath.
And remember: you’re already doing yoga.
TL;DR – Quick List of Poses to Avoid (And What to Do Instead)
| Avoid This Pose | Try This Instead |
|---|---|
| Headstand | Legs-Up-the-Wall |
| Full Wheel | Bridge Pose |
| Crow Pose | Garland Pose |
| Lotus Pose | Easy Pose |
| Shoulder Stand | Supported Bridge |
| Plow Pose | Knees-to-Chest |
| King Pigeon | Reclined Pigeon |
| Revolved Triangle | Supine Twist |
| Firefly Pose | Boat Pose |
| Deep Forward Fold | Bent-Knee Forward Fold |
Want more yoga tips for real-life people with real-life bodies? Just ask! Or better yet—grab your mat and start where you are.
Namaste (and no neck injuries, please). 🙏

Theo is a dedicated yoga instructor with over six years of experience guiding individuals toward balance, strength, and inner peace through the transformative practice of yoga.As the founder of Pure Yoga Vibes, Theo offers expert insights, inspiring routines, and a wealth of knowledge to support your wellness journey. Committed to fostering a space for growth and mindfulness, Theo’s mission is to make yoga accessible, enjoyable, and meaningful for everyone.
For inquiries or collaborations, feel free to reach out at contact@pureyogavibes.com.