Yoga is a fantastic way to improve flexibility, strength, and mindfulness. Among the many poses, the Three-Legged Downward Dog is a dynamic and versatile posture. This pose combines strength, balance, and flexibility, making it a favorite among yogis. Whether you’re looking to deepen your practice or simply want to learn more about this pose, this guide covers everything from how to perform it, its benefits, and variations to keep your routine exciting.
What Is the Three-Legged Downward Dog?
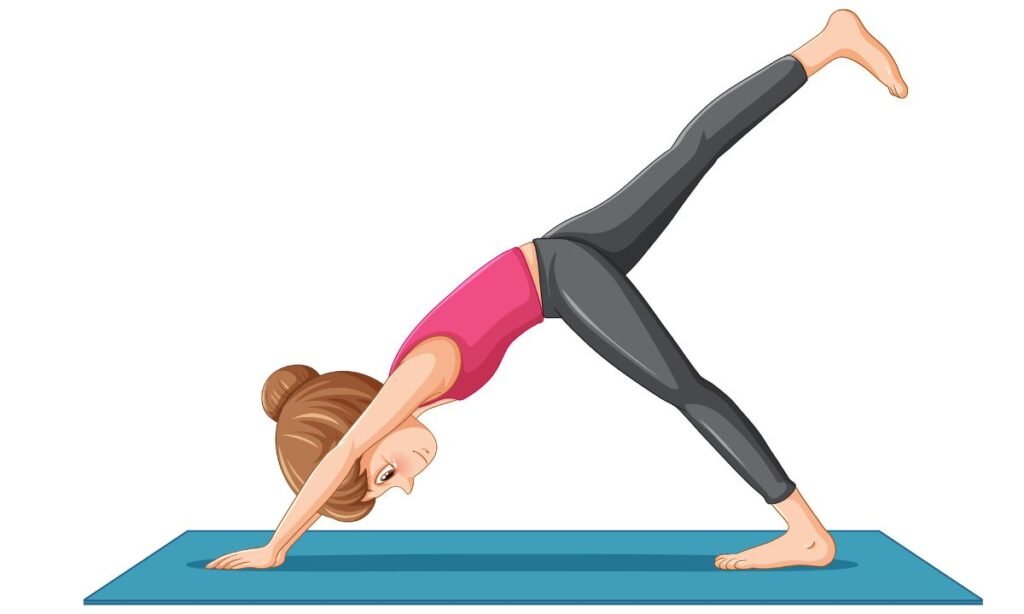
The Three-Legged Downward Dog, also known as Eka Pada Adho Mukha Svanasana, is a variation of the classic Downward Dog pose. This pose involves lifting one leg toward the sky while keeping the other foot grounded, creating a sense of balance and strength. It’s a great pose to improve stability, build strength, and open the hips.
Why Is It Called a Hip Opener?

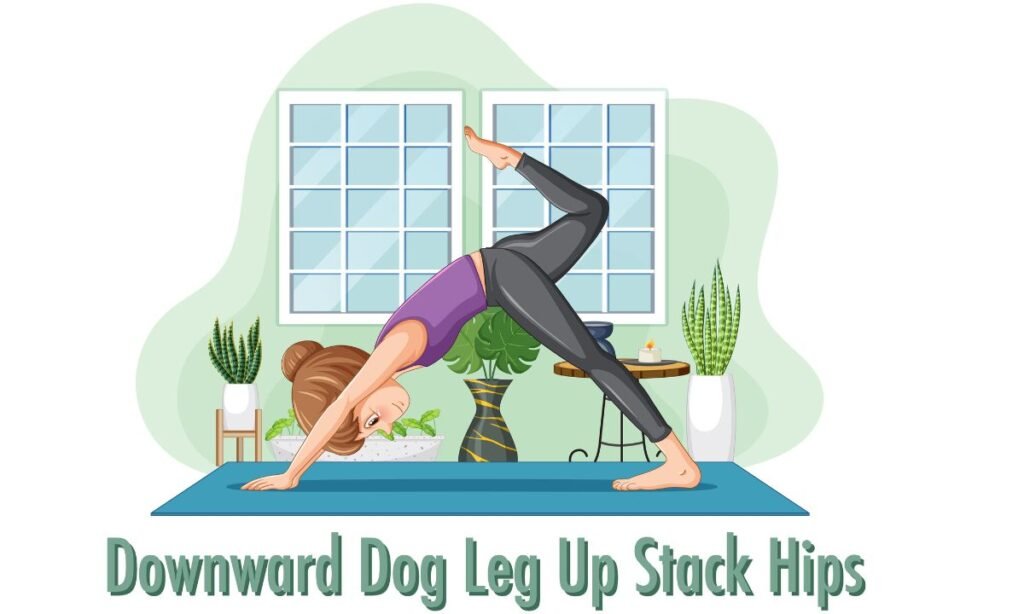
The Three-Legged Dog yoga pose is often called a hip opener, especially when practiced with a bent knee. By lifting one leg and opening the hip, you engage the muscles around the pelvis, allowing for a deeper stretch and increased flexibility in the hip joint.
How to Perform the Three-Legged Downward Dog

Step-by-Step Instructions
- Start in Downward Dog
Begin on your hands and knees in a tabletop position. Tuck your toes under and lift your hips toward the ceiling, forming an inverted “V” shape. - Engage Your Core and Arms
Press firmly into your hands, spreading your fingers wide. Engage your core muscles to maintain stability. - Lift One Leg
Inhale deeply and lift your right leg toward the ceiling, keeping it straight. Ensure your hips remain square to the floor. - Adjust Your Hips
To deepen the stretch, open your hip by bending the lifted leg at the knee and pointing it toward the side. - Hold the Pose
Maintain this position for 5-10 breaths. Focus on keeping your balance and engaging your core. - Switch Sides
Lower your right leg back to the mat and repeat the pose with your left leg.
Readmore: Half Lotus Pose Explained
Readmore: Revolved Half Moon Pose Made Simple
Mistakes to Avoid
- Arching the Lower Back:
- Keep your spine neutral to avoid unnecessary strain.
- Uneven Weight Distribution:
- Ensure both hands bear equal weight to prevent wrist discomfort.
- Overextending the Lifted Leg:
- Focus on alignment rather than how high you can lift your leg.
Benefits of the Three-Legged Dog Pose
The Three-Legged Dog pose offers a variety of benefits, making it an essential part of your yoga routine. Here’s what you gain:
1 . Improves Balance and Stability
Balancing on three limbs enhances your coordination and strengthens stabilizing muscles.
2. Builds Strength
This pose engages your arms, shoulders, core, and legs, promoting overall body strength.
3. Enhances Flexibility
It stretches the hamstrings, calves, and spine, improving flexibility over time.
4. Opens the Hips
Particularly when practiced with a bent knee, this pose helps to increase hip flexibility and reduce tightness.
5. Boosts Circulation
Like most inversions, the Three-Legged Downward Dog improves blood flow, energizing the body.
Variations of the Three-Legged Dog Pose
To keep your practice dynamic and cater to different skill levels, try these variations:
1 . Bent Knee Variation
This version is perfect for a deeper hip opener. Bend the lifted leg at the knee and point it toward the side, encouraging a more intense stretch in the hip flexors.
2. Twisted Three-Legged Dog
While in the pose, twist your torso slightly toward the side of the lifted leg. This adds an extra dimension of spinal flexibility.
3. Three-Legged Dog to Knee-to-Nose Transition
Flow from the pose by bringing the lifted knee toward your nose. This movement strengthens the core and adds a dynamic element to your practice.
4. Wall-Supported Variation
Beginners can practice with their grounded foot against a wall for added stability.
5. Extended Hold Variation
Hold the pose for an extended time, focusing on deep, steady breaths. This builds endurance and mental focus.
Readmore: Unlock the Benefits of Advanced Yoga Poses
Readmore: The Best Foods for a Yogic Diet
How to Incorporate Three-Legged Downward Dog into Your Routine
Here are some tips for including this pose in your yoga practice:
Warm-Up
Begin with gentle stretches like Cat-Cow and Child’s Pose to prepare your body.
Use It in Flows
Include the Three-Legged Dog in a vinyasa flow. Transition from Downward Dog to Three-Legged Dog, then into Warrior I or II.
Cool Down
Pair it with forward folds or seated stretches to release tension and cool down after your practice.
Safety Tips for Practicing Three-Legged Downward Dog
- Listen to Your Body:
Avoid pushing yourself too hard, especially if you feel discomfort in your wrists, shoulders, or hips. - Warm-Up Properly:
A good warm-up prevents injury and ensures your muscles are ready for deeper stretches. - Modify When Needed:
Use props like yoga blocks or a wall for support if you’re a beginner recovering from an injury.
Final Thoughts
The Three-Legged Downward Dog is more than just a balancing act; it’s a powerful pose that enhances flexibility, strength, and mindfulness. By incorporating this pose into your routine and experimenting with variations, you can enjoy its full range of benefits. Whether you’re a beginner or an experienced yogi, this pose offers something for everyone. So, roll out your mat and give it a try!
Readmore: Fallen Triangle Pose for Strength, Balance, and Flexibility
Readmore: Humble Warrior Pose (Baddha Virabhadrasana)
FAQs About Three-Legged Downward Dog
1. Can beginners practice the Three-Legged Dog pose?
2. How often should I practice this pose?
3. What should I do if my wrists hurt in this pose?

Sonu is a passionate yoga teacher with over 6+ years of experience helping individuals find balance, strength, and inner peace through the transformative power of yoga. As the creator of Pure Yoga Vibes, Sonu shares expert insights, inspiring practices, and a wealth of knowledge to support your wellness journey. Dedicated to creating a space for growth and mindfulness, Sonu’s mission is to make yoga accessible and enjoyable for everyone. For inquiries or collaborations, feel free to reach out at contact@pureyogavibes.com.


