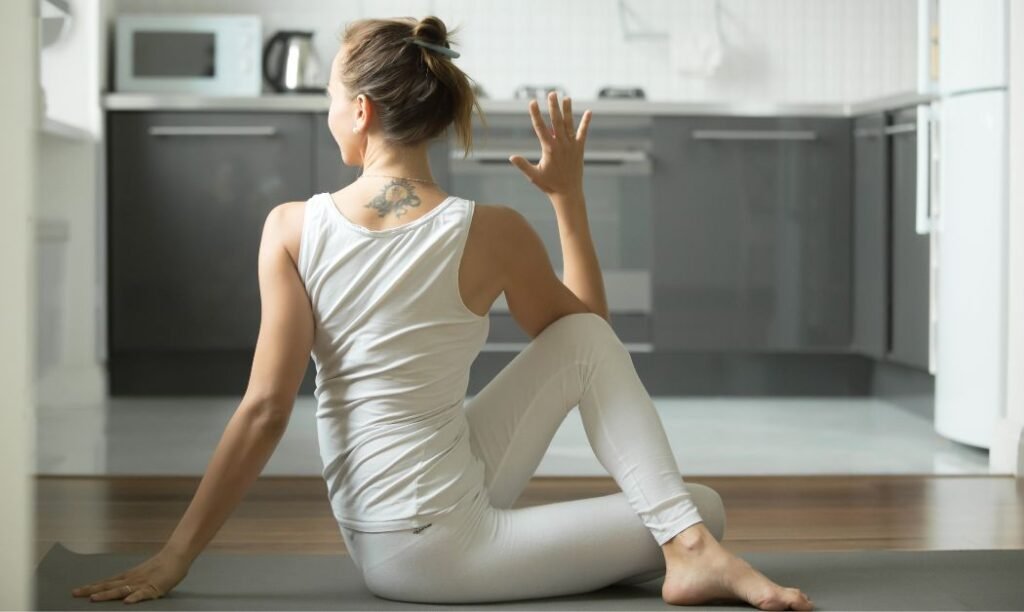
Have you ever wanted to stretch like a bunny, hopping your way to better health? Well, the Rabbit Pose, also known as Sasangasana, is your chance to do just that—minus the hopping! This yoga posture might not transform you into a fluffy bunny. Still, it can help relieve stress, improve flexibility, and leave you feeling refreshed. Whether you call it bunny pose, rabbit posture yoga, or hare pose yoga, this little gem is worth adding to your practice.
In this guide, we’ll explain Rabbit Pose step by step, share tips for perfecting your posture, and explore its benefits for body and mind. Let’s hop right in!
What Is Rabbit Pose (Sasangasana)?
Rabbit Pose is a seated yoga posture that involves curling your spine and bringing your head close to your knees while holding your heels. It’s a calming pose that stretches your back, shoulders, and neck. Don’t worry; you don’t have to twitch your nose like a bunny—though you’re welcome to if it makes you smile!
This pose is part of the Hatha yoga tradition. It is often included in Bikram and other yoga practices that focus on spine health. It’s accessible to beginners yet offers plenty of depth for advanced practitioners.
Benefits of Rabbit Pose
1. Improves Spine Flexibility
Think of Rabbit Pose as a love letter to your spine. By curling your back in this posture, you gently stretch and realign the vertebrae, promoting flexibility and mobility.
2. Relieves Stress and Anxiety
The pose encourages deep breathing and helps calm your nervous system. It’s a great way to reset after a hectic day.
3. Boosts Circulation
Inverting the head below the heart increases blood flow to your brain, giving you an energizing boost.
4. Stretches the Neck and Shoulders
If you’re hunched over a computer all day, this pose can work wonders by relieving tension in your neck and shoulders.
5. Enhances Digestive Health
Compressing the abdomen in this posture stimulates digestion and helps detoxify your internal organs.
How To Do Rabbit Pose: Step-by-Step Guide
Step 1: Get Into Child’s Pose
- Kneel on your yoga mat, with your knees hip-width apart and your feet flat.
- Sit back on your heels, resting your hips on them.
- Stretch your arms forward and rest your forehead on the mat.
Step 2: Transition to Rabbit Pose
- Lift your hips slightly off your heels.
- Reach back with your hands and grab your heels firmly, thumbs on the inside and fingers wrapped around the outside.
- Tuck your chin to your chest, bringing your head as close to your knees as possible.
Step 3: Curl Your Spine
- Roll forward onto the crown of your head, keeping your grip on your heels.
- Engage your core and round your spine like an arching cat.
- Avoid putting too much pressure on your neck; the weight should be distributed evenly.
Step 4: Breathe and Hold
- Take deep breaths in and out, holding the pose for 20-30 seconds.
- Focus on elongating your spine with each exhale.
Step 5: Release Gently
- Slowly release your grip on your heels.
- Roll back to sit on your heels and transition back into Child’s Pose for a few breaths.
Tips for Perfecting Your Rabbit Pose
- Keep Your Grip Firm: Holding your heels tightly ensures you stay balanced and stable.
- Engage Your Core: Use your abdominal muscles to support the curvature of your spine.
- Avoid Straining Your Neck: The crown of your head should touch the mat gently; don’t press too hard.
- Modify if Needed: If your knees or lower back feel strained, place a folded blanket under your knees or adjust the depth of the pose.
- Practice Deep Breathing: Focus on slow, intentional breaths to enhance the calming effect.
Mistakes and How to Fix Them
Mistake 1: Collapsing the Neck
Fix: Ensure the weight is distributed evenly and avoid pushing down too hard on your head.
Mistake 2: Loose Grip on Heels
Fix: Hold your heels firmly to maintain stability and proper alignment.
Mistake 3: Rounded Shoulders
Fix: Keep your shoulders away from your ears and focus on lengthening your spine.
Variations and Modifications
1. Supported Rabbit Pose
If you’re new to yoga or have limited flexibility, place a folded blanket under your head for support.
2. Deep Rabbit Pose
Advanced practitioners can deepen the stretch by bringing their forehead closer to their knees and lifting their hips higher.
3. Dynamic Rabbit Pose
Incorporate gentle rocking motions to massage your head and spine while holding the posture.
When to Avoid Rabbit Pose
Rabbit Pose is generally safe, but you should avoid it if:
- You have a neck injury or chronic neck pain.
- You’re pregnant.
- You experience dizziness or vertigo.
- You have high blood pressure or any condition affecting blood flow to the head.
Always consult with a healthcare provider or yoga instructor if you’re unsure.
Frequently Asked Questions
Q: How long should I hold Rabbit Pose?
A: Hold the pose for 20-30 seconds while focusing on deep breathing. You can repeat it 2-3 times in your practice.
Q: Can beginners try the Rabbit Pose?
A: Yes! Rabbit Pose is beginner-friendly. Use modifications like a blanket for support if needed.
Q: What’s the difference between Rabbit Pose and Child’s Pose?
A: Child’s Pose is more of a resting posture, while Rabbit Pose actively stretches the spine and engages your core.
Final Thoughts
Rabbit Pose (Sasangasana) is a simple yet powerful yoga posture that benefits your body and mind. Whether you’re looking to relieve stress, improve flexibility, or just add a playful element to your practice, this pose has something to offer.
So, grab your yoga mat, channel your inner bunny, and give Rabbit Pose a try. Your spine will thank you, and who knows? You might even hop away feeling lighter and brighter!

Sonu is a passionate yoga teacher with over 6+ years of experience helping individuals find balance, strength, and inner peace through the transformative power of yoga. As the creator of Pure Yoga Vibes, Sonu shares expert insights, inspiring practices, and a wealth of knowledge to support your wellness journey. Dedicated to creating a space for growth and mindfulness, Sonu’s mission is to make yoga accessible and enjoyable for everyone. For inquiries or collaborations, feel free to reach out at contact@pureyogavibes.com.